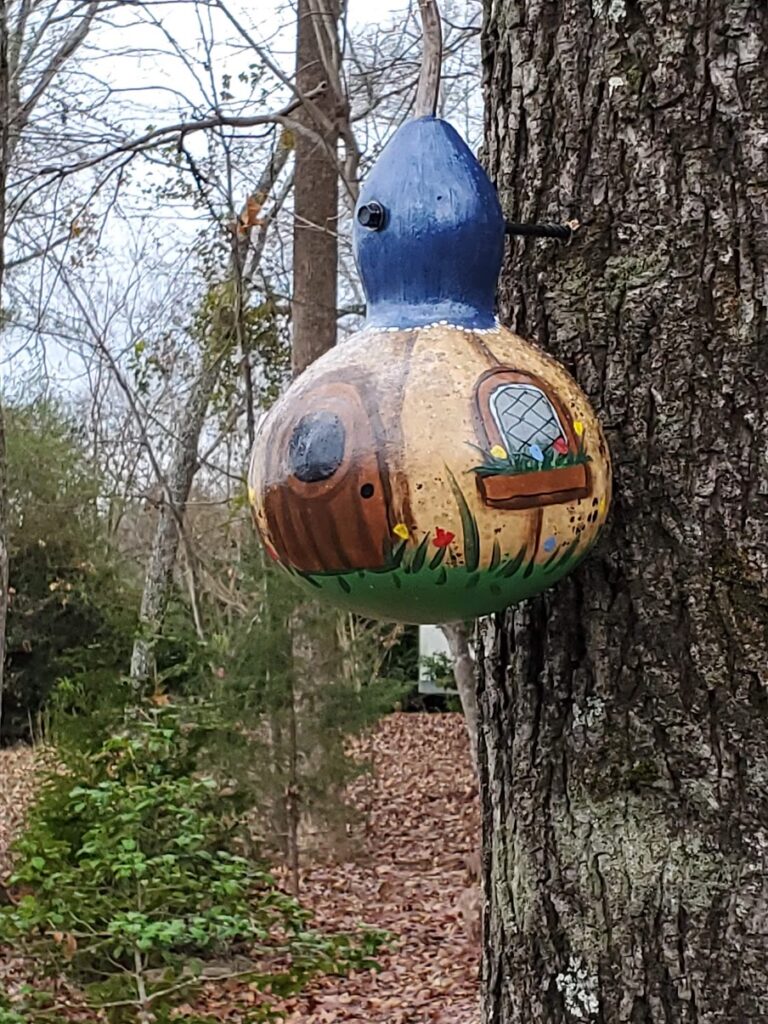
Painting Gourds
Gourds have nice smooth surfaces and are easy to paint. Our neighbor was kind enough to share some gourds grown in his garden, so I was delighted to have a chance to try painting gourds.
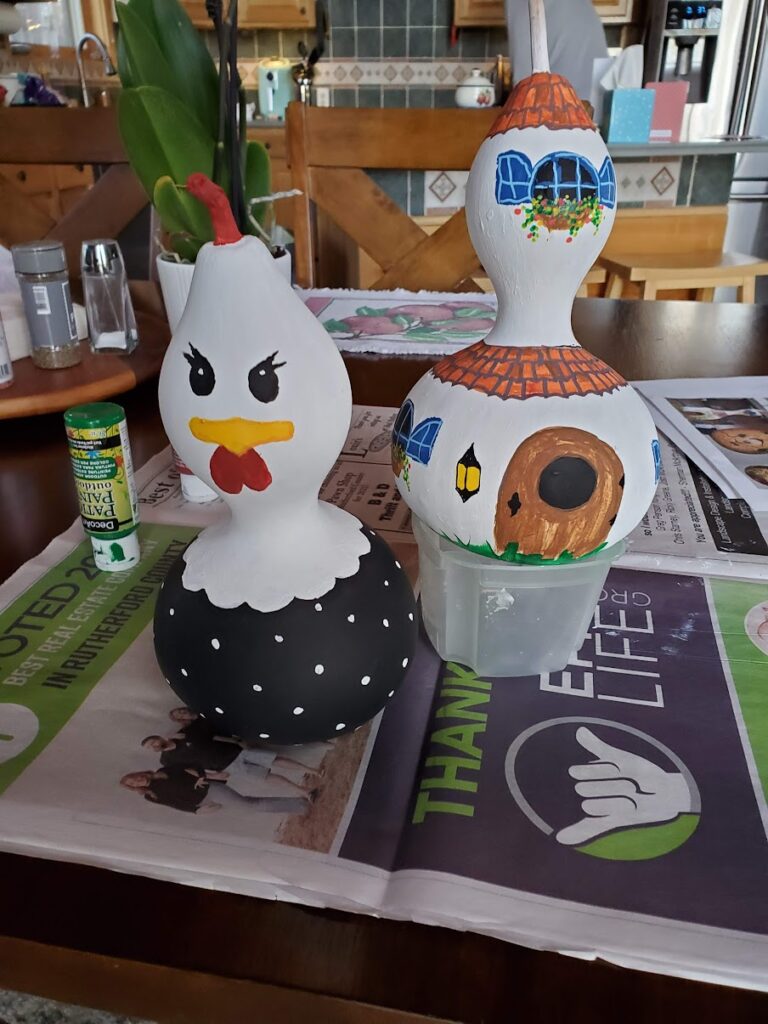
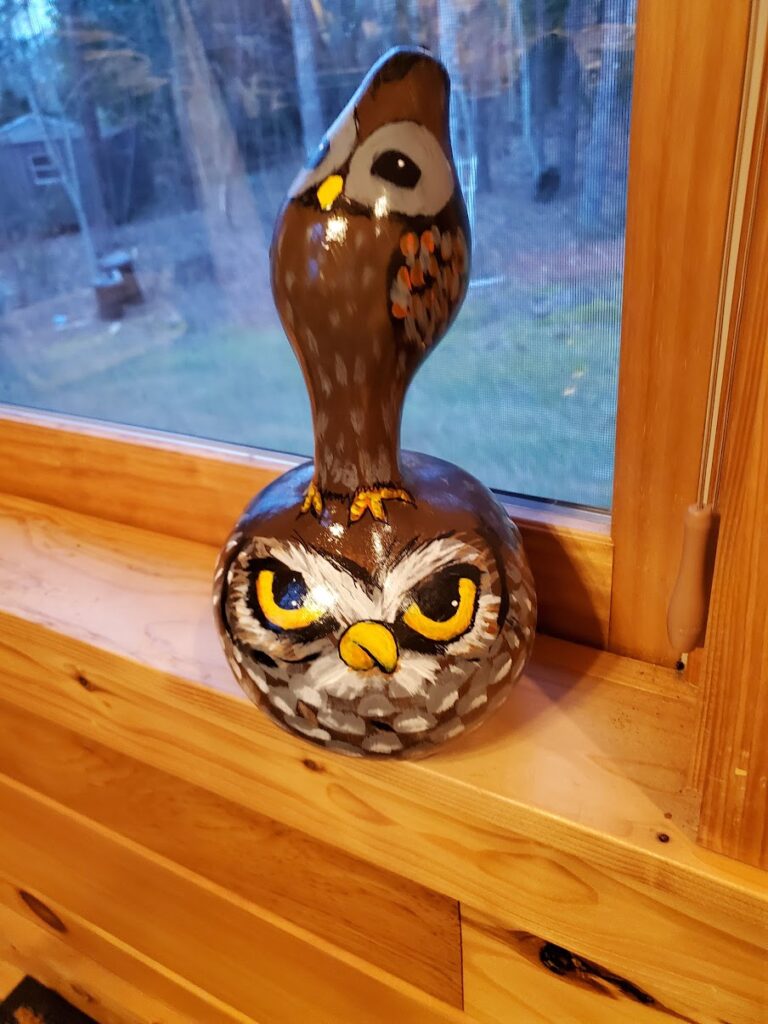
Here is how I painted my gourds. This first experiment didn’t turn out so well, as they deteriorated quickly in the weather. The gourds will last longer indoors, but I hung my gourds in trees. Painting is a learning process.
Steps for Painting Gourds
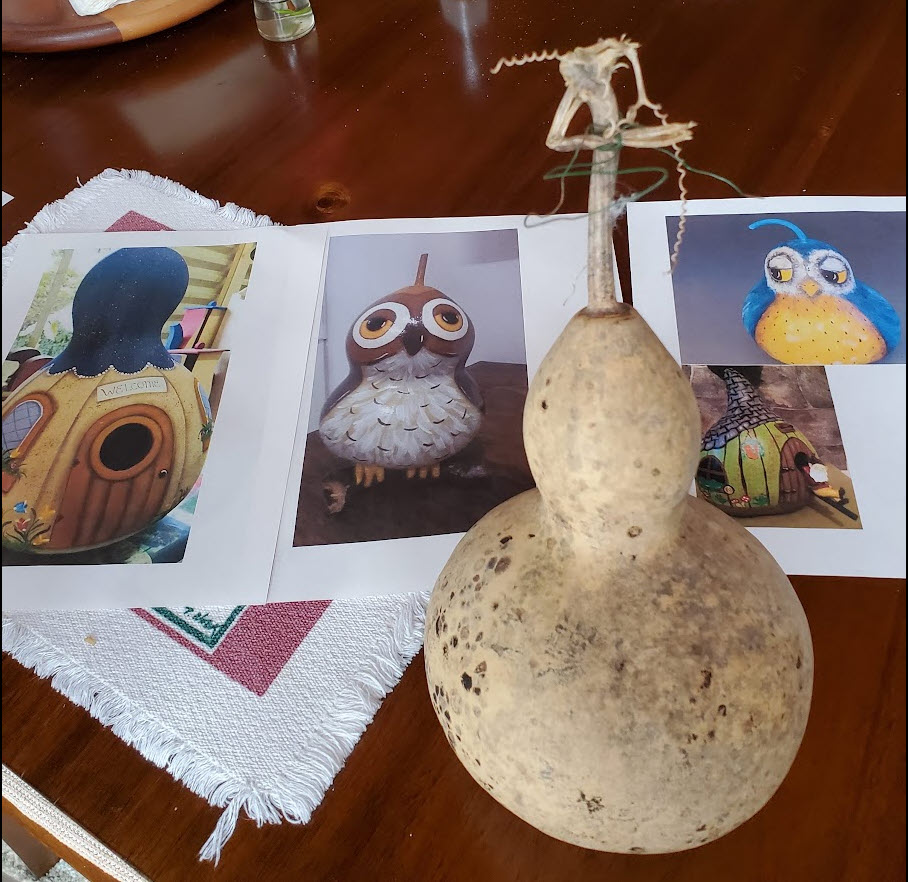
- Choose a design: If you don’t already have a design in mind, explore the web and Pinterest for ideas for your design.
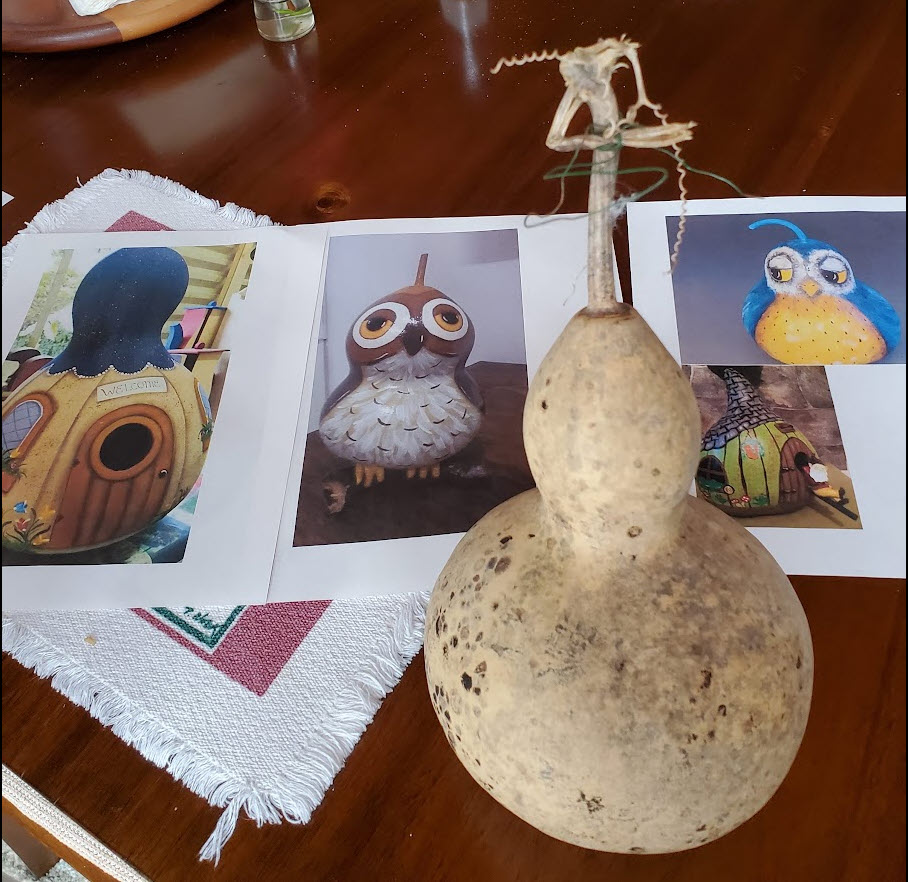
- Choose a gourd: Choose gourds that have no cracks or holes and have been drying for about a year. Some people drill a hole, so the gourds can be a birdhouse, but I didn’t drill a hole in my gourds.
- Prepare the gourd: The gourds will be gray and dirty. Lightly sand and clean the gourd. Be careful not to break the gourd, as they may be brittle.
- Apply a base coat: I used acrylic craft paints from the craft store. Use a background color that works with your design. If you want to take advantage of the natural black spotted surface, use a clear base coat.
- Paint your design: It helps to place the gourd on a cup, so you can get to more surfaces of the gourd.
- Seal your design: Your can use 2 to 3 coats of spray sealer, or paint on coats of clear polyurethane. Do this in a well-ventilated area.
- To hang the gourd: We used a Dremel to drill a hole thru the top of the gourd. You can thread some twine, long screw or post thru the hole to create a way to hang the gourd.

